Showing posts with label 24-25 Annual Catalog. Show all posts

Monday, September 15, 2025

A little Stampin' Up! In Color Fun With Fancy Friday!

Woot!  Time to share the card I made for AUGUST'S Fancy Friday Challenge!  Can you believe it is SEPTEMBER already?!  Gah!  I know I can't!  Time if FLYING too fast!  But this month is all about the In Colors!  I LOVE this color line from Stampin' Up!  I picked a few to use for this card ... two that are new this year and one that is from last years collection. 


We've got Secret Sea, Strawberry Slush, and Summer Splash!  LOVE these colors together ... if I do say so myself.  Hee.  I also love that little pop of Lemon Lolly to make "smile" stand out. 

A few more details ... TWO TONE Cardstock is SO MUCH FUN!  Here, I stamped it, embossed it, and then sanded it a bit.  LOVE the fun texture it adds!  Without any extra bulk! 

This bundle is a fun one to play with also.  It is the Spotlight on Nature Bundle.  Sadly ... the stamp set has been discontinued.  But the dies are still around!  And the greeting stamp set I used, Patterns of Friendship, is on the Last Chance list.  So if you don't have it - GRAB IT!  It is a fabulous one!  I use it ALLLLL the time!  


Thank you so much for visiting!  I hope you enjoy!  Make sure you check out @stampinfancyfriday on IG to see all the fun cards posted this month by our Design Team!  💗

Please let me know if you have any questions!  Would love to help you with all your papercrafting needs!  If you need to order any Stampin' Up! supplies - I would be happy to help with that as well!  

Contact: designwithink@gmail.com

Wednesday, June 11, 2025

Storytelling With Scrapbook Layouts!

Sharing a fun Technique Tuesday post that I did for Stampin' Up! as an Artisan!  It's a fun 12" x 12" scrapbook layout!  It's all about storytelling in scrapbooks.  Check it out! 

Storytelling in our scrapbooks is so important and adds so much value! The stories about people are important, yes - but don't forget that the other stories about what makes us who we are matter, also!  Today I'm sharing a layout I made about one of my favorite places on the planet, including a super-easy way to add journaling space to layouts.  So remember - it doesn't have to be difficult to be worth it!  Just record your stories!  

All supplies are from ©️ Stampin' Up!

Colors Pool Party, Lemon Lolly, Pretty in Pink, Basic White
Inks: Lemon Lolly, Crumb Cake, Pool Party, VersaMark, Basic Black Stampin' Write Marker, BLENDS: Bubble Bath
Cardstock/Papers: Pool Party TWO-TONE, Lemon Lolly, Bubble Bath, Crumb Cake, Basic Beige, Berry Burst, Strawberry Slush, Basic White, Celebratory Sips DSP
Stamps: Notes & Totes
Tools:  Notes & Totes Dies, Soft Waves 3D Embossing Folder, Heat Tool
Accessories: Basics Wow! Embossing Powder, Baker's Twine Essentials Pack

How fun is this page?!  Have to admit ... I really love it.  Hee.  So let's talk about it more!   Starting with the storytelling then I will share a few more tips that I did to get the different accents. 👏


So easy, right?!  😃  Want me to show a few details & how I made them?!  Well then let's go!  💗  I used the FABULOUS Notes & Totes Bundle from Stampin' Up! 

Let's start with the base.  Two-Toned cardstock is SO MUCH FUN!  I used the Pool Party base with 4 square panels on top.  Look at the subtle beauty that adds.  So much interest without any other supplies.  For the 4 panels on top ... I did 2 different techniques. I stamped one side of 2 of the panels.  Then I embossed the 2 other panels & sanded them to let the white core come through. Love the subtle two-tone of the same colors!  😍  Then just added them to the page catty corner to each other before adding the other details. 


This leads to a few other tips!  Check out that cute title!  I love the Mini Alphabet Dies for cardmaking.  But of course, they are pretty fabulous for scrapbooking also!  I love that you can cut the whole alphabet out with one swipe through the Stampin' Cut & Emboss Machine.  Also ... *TIP* Add Adhesive Sheets to the back before cutting out and you have easy letter stickers!  Extra fun ... add interest to the letters by adding some color with Blends Markers!  Then I lined them up using Grid Paper & Masking Paper to easily apply to color and add to my scrapbook page. 


Next tip ... now where did I get this fun flower?!  😁  

In the Notes & Totes Bundle there is this fun piece that cuts out a fun tie for the bag. I circled it in this photo: 


So I just cut out 5 of them, stamped them with the fun dotted stamp in the bundle, and adhered them together.  Love that flower!  💗

an

I already shared the fun little way I added the date & location, but here are a few more pics because I LOVE this bag die (cut out from Celebratory Sips Designer Series Paper) and all the little details from the dies.  Like really ... how stinking cute is it all layered together? And to do the sand layer, I just cut/tore a layer from Crumb Cake cardstock then used the dotted stamp again to make the sand.  


Those sunglasses!!!! 😍😍😍  Here is the full page again: 


Hope you enjoy this!  I loved making it and hope it inspires you to scrapbook those stories from your life! 💖

Let me know if you have any questions.  I would be happy to help you with all your papercrafting needs! 

Contact: designwithink@gmail.com

Wednesday, May 14, 2025

Congratulations With Inked Occasions ... April '25 Paper Pumpkin Alternative!

Have another Stampin' Up! Paper Pumpkin Alternative to share today!  Need a fun congrats card?  Well maybe you should make one of these also! 😍 I paired the kit, the kits add-on coordinating die set, Hugs Abloom, & the Everyday You & Me Bundle (those cute flowers!) to make this card: 


Some of the fun details: 

  • I love that label die (from Hugs Abloom Dies!) for a fun background.  I cut some from one of the cards and some from Basic White Cardstock.  Added texture by embossing some with the Exposed Brick Embossing Folder.  
  • Die-cut leaves (Hugs Abloom Dies!) in both Lemon Lime Twist Cardstock & Gold Foil to layer those for dimension.  One of the pieces from the kit is behind it also.
  • Stamped those flowers in Bubble Bath ink & used the coordinating dies (Everyday You & Me Bundle) to make this focal point pop! 
All supplies are from Stampin' Up! 

And for some close pics of the details ...


It is so much prettier in person than what I could show in the photos.  Haha.  So just trust me on that!  But I love how this card turned out! 

Thank you so much for visiting!  I hope you enjoy this card!  Let me know if you have any questions!  If you are in the United States - I would love to get you set up with your own Paper Pumpkin subscription if you need one!  Or help you with ordering any Stampin' Up! supplies that you need! 

Contact: designwithink@gmail.com

Thursday, May 8, 2025

Inked Occasions! With Hugs! April Paper Pumpkin Kit Alternative ...

Have you played with your April 2025 Stampin' Up! Paper Pumpkin Kit yet?!  Do you have a Paper Pumpkin subscription?!  Well I hope so because this kit, Inked Occasions, is FABULOUS!  Oh my heavens!  So much fun & GORGEOUS!  The kit comes with all the supplies needed to make 9 cards ... including a stamp set, ink, & envelopes!  The cards are gorgeous as is ... or let them be a jumping off point to your creativity!  I made a couple alternatives & today I am sharing the first one!  


I used the stamps & elements from the kit ... plus a few other supplies from Stampin' Up!  The Happy Hibiscus Bundle was so much fun to use with this set.  So I used that & the Textured Notes Dies.  I stamped the flowers onto one of the cards that came with the kit & embossed with gold embossing powder.  Then just used to die-cuts to cut them out.  Added some leaves from the Happy Hibiscus Dies, stamping with the butterfly from the stamp set that is included with the kit, and some Brushed Brass Butterflies.  


The greeting was fun to do as well.  I stamped the greeting on a piece from the kit, then added some ink using a Blending Brush.

In real life the gold shimmers & shines & looks just insanely gorgeous! 


I hope you enjoy!  Thank you so much for visiting!  If you need to get your own Paper Pumpkin subscription so you can have perfectly coordinated projects delivered to your house each month - let me know! 💖  Would also love to help you with any of your paper crafting needs!  

Contact: designwithink@gmail.com

Friday, May 2, 2025

Arched Wishes & Color Challenge for TGIF Challenge #523!

It is all about COLOR for our TGIF Challenge this week!  Yes ... that's right!  It is a fun color challenge!  Woot!  I played with the Arched Wishes Stamp Set & Everyday Arches Dies for the birthday card I made for this color challenge! 

All supplies are from ©️ Stampin' Up!

Colors Petunia Pop, Balmy Blue, Daffodil Delight, Basic White, Basic Black
Inks: Petunia Pop, Balmy Blue, Daffodil Delight, VersaMark
Cardstock/Papers: Bubble Bath, Petunia Pop, Basic Black, Basic White
Stamps: Arched Wishes
Tools:  Everyday Arches Dies, Blending Brush, Heat Tool, Mini Corrugated Embossing Folder
Accessories: Basics Wow! Embossing Powder, Baker's Twine Essentials Pack, Iridescent Faceted Gems

So fun and peppy, huh?!  I watercolored the balloons for a more muted color.  But here are the official colors for this challenge! 


I love how these colors look together!  Now ... have to admit ... I used the Floral & Gingham Vellum for the background to this card.  I felt like I have to admit that because the blue on that vellum is actually Pool Party.  But ... I felt like it matched with the watercolored Balmy Blue balloon quite nicely.  😃  So just a reminder that these challenges are a jumping off point meant to inspire.  They don't have to be set in stone.  (Or paper in this case.  Hee.)

A few more shots of the details of this card: 

A few notes on the card: 

  • The balloons and greeting are stamped in VersaMark ink & then embossed with black embossing powder.  I love embossing before watercoloring & I love embossing in general. 😀
  • I purposefully tried to leave a little splatter of the black embossing powder so I could have some black embossed splatter on the balloons. 
  • The balloons & greeting are fussy cut out.  
  • The vellum patterned paper is just adhered to the card front with Multipurpose Liquid Glue so you don't see it through the vellum.

One more look at the full card! I really love how cheery it all came together.  This would be a fun card to make in lots of different color combos! 💖


Thank you so much for visiting!  Now you can head on over to the TGIF Challenge Blog to see what other on the design team made & to play along with us!  

Please let me know if you have any questions or need help with anything!  Would love to help you with all your papercrafting needs!  Would also love to help you get your hands on any Stampin' Up! supplies you are needing! 

Contact: designwithink@gmail.com

Saturday, April 26, 2025

The Greatest Fun! With The Artisan Design Team!

Hello!  Yes ... you read that title right!  We have more fun today in store ... you get to hop around with some of us on the 2025 Stampin' Up! Artisan Design Team!  Whoooo hoooo!!! 🙌  Today we are showcasing two stamp sets ... the He's The Greatest & She's The Greatest Stamp Sets!  They are ☆ NEW  Online Exclusives just released this month and they are so much fun to use!  


I made a card for both a mom & a day, but you could easily swap out the greeting and make these cards for anyone!  Here are the stamp sets we used: 


Aren't these so much fun for the men & women in your life?!  Let me share some more pictures of each card so you can see more of the details: 


Here are a few fun details about this card: 

  • Use Two Tone cardstock, rip into strips, and layer together to add added texture and detail.  Stamp on one of the colors for added fun! 
  • Stamp the floral image repeatedly & then adhere in a circle to make a fun wreath! 
  • Watercolor on Fluid 100 Watercolor Paper.  Make it ombre to give it some variation.  Stamp (& emboss in this case) the part of your greeting you want highlighted.  
Now on to the next card: 


A few fun details about this card: 

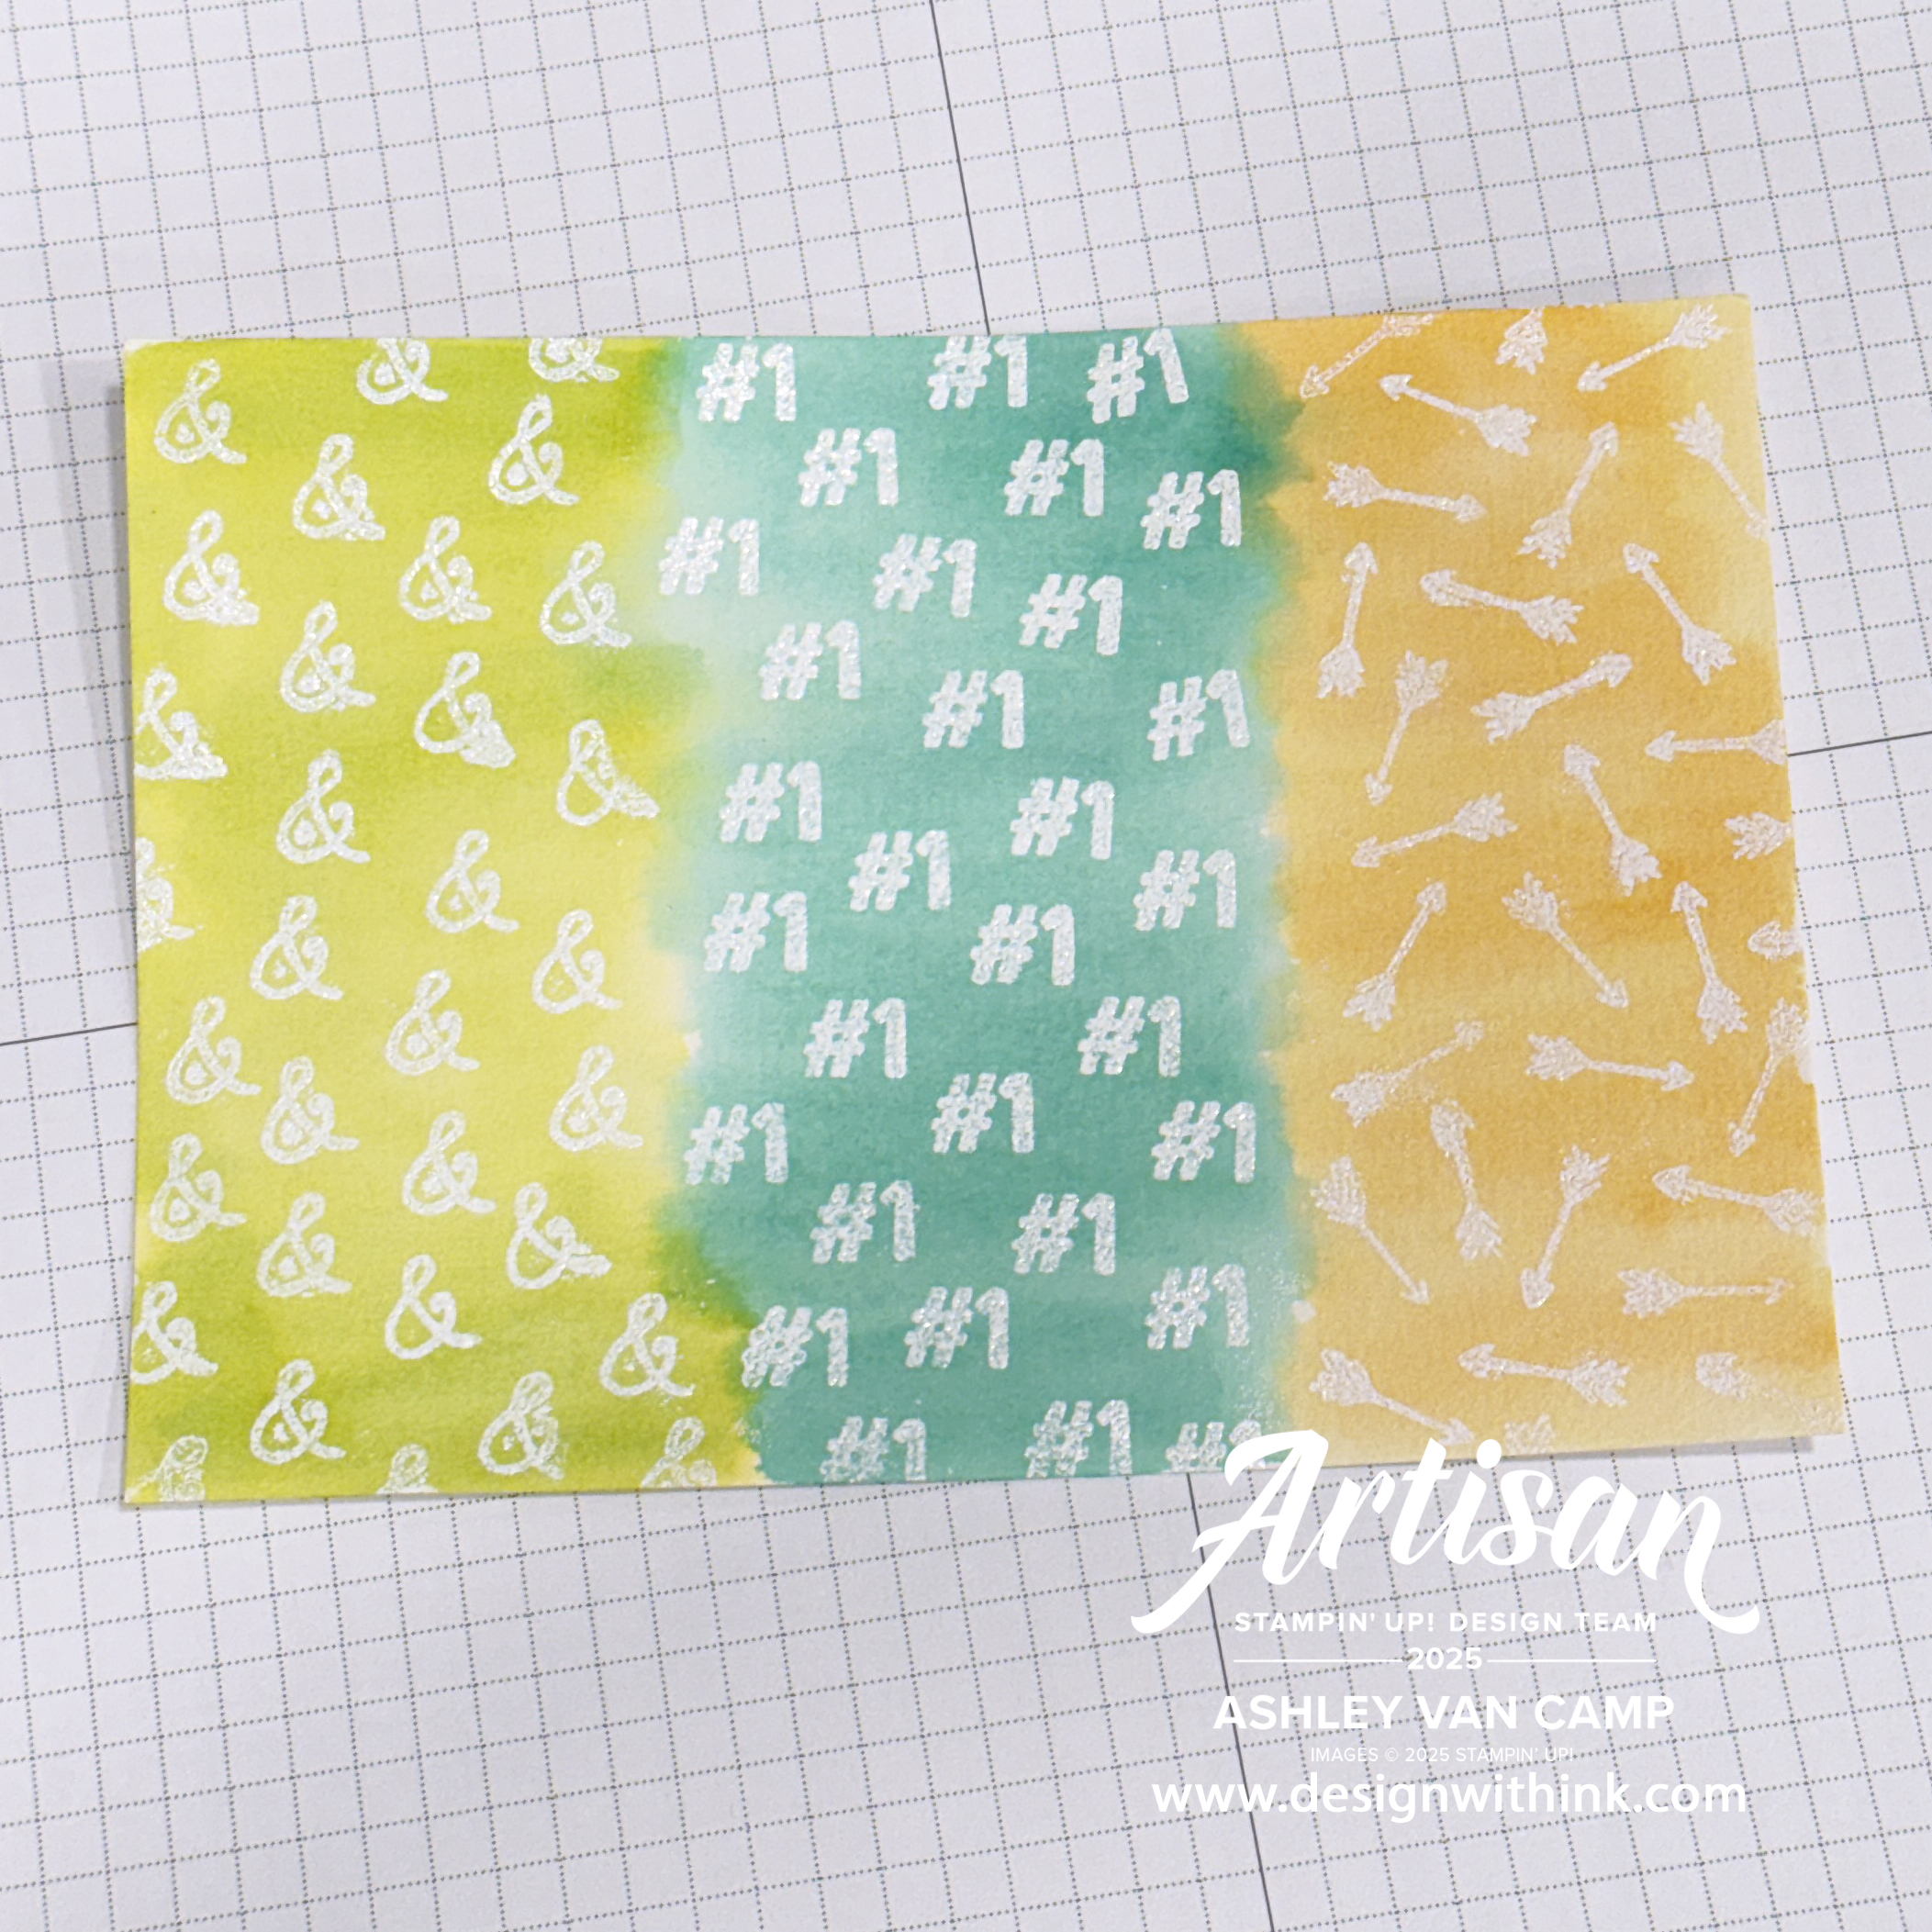
  • Watercolor your colors of choice onto Fluid 100 Watercolor Paper.  Let dry.  Stamp & emboss on each color.  Use Everyday Arches to cut out your shapes and add as a fun geometric detail to your card! (See photo below for how I did the watercoloring/stamping.)
  • Stamp your greeting onto different colored cardstocks.  Cut out in strips & layer together to make another fun interesting element.  

It was a lot of fun making these cards.  I hope you enjoyed seeing them.  Now you can keep hopping along to check out all the projects from the other Artisan Design Team Members that are sharing today!  You do NOT want to miss what everyone has in store for you!  

The best place to see them is on Instagram so here is the full hoppers list: 

  • Ashley Van Camp @designwithink   ☆ YOU ARE HERE! ☆
  • Cornelia Janssen @manufaktur_herzgemacht
  • Jay Soriano @mitosucrafts
  • Lara Moss @scrappykea
  • Sarine Zijderveld@sarinezijderveld
Thanks you so much for visiting!  Please reach out if I can help you with anything!  Would be happy to help you with all your papercrafting needs!  If you need to get your hands on these, or any, Stampin' Up! supplies ... happy to help there too!  Contact me any time! 

Contact: designwithink@gmail.com

Thursday, April 24, 2025

Unbounded Beauty & Botanical Textures Criss Cross Gift Pouch ...

Back in March when I went to Stampin' Up!'s On Stage event, I made a few different gifts.  Finally getting around to sharing one of them!  It's a cute criss cross card that I made into a gift pouch!  I used the Unbounded Beauty Designer Series Paper to make the pouch.  I then decorated it with the Everyday Arches, Thoughtful Wishes, & Country Flowers Dies.  (The Thoughtful Wishes Dies & Country Flowers Dies are both Last Chance items!  Get them while you can!) Then did the fun tab with the Keeping Tabs Punch & Stamp Set.  The greeting is from the ☆ NEW ☆  Pattern of Friendship Stamp Set!  I LOVE this stamp set! 

But on to the photos ...

All supplies are from ©️ Stampin' Up!

Colors Coastal Cabana, Pretty in Pink, Petunia Pop, Lemon Lime Twist, Gray Granite, Basic White
Inks: Coastal Cabana, Pretty in Pink, Petunia Pop, Memento Black, VersaMark
Cardstock/Papers: Coastal Cabana, Pretty in Pink, Petunia Pop, Lemon Lime Twist, Gray Granite, Basic White, Unbounded Beauty Designer Series Paper, Botanical Textures Designer Series Paper
Stamps: Pattern of Friendship, Keeping Tabs
Tools:  Thoughtful Wishes Dies, Country Flowers Dies, Everyday Arches Dies, Keeping Tabs Punch, Heat Tool
Accessories: Baker's Twine Essentials Pack, Linen Thread, Basics Wow! Embossing Powder, Iridescent Faceted Gems

How cute are these?!  I kinda really love them.  I used the Botanical Textures paper so I could make more of a "manly" version of it.  So you have some floral girly ones with the Unbounded Beauty and the Botanical Textures for a more bold manly one. 

Let's get a closer look at these!  I love using Designer Series Paper and projects that show you both sides of the paper.  This project does just that. 


How cute are these?!  Let me show you all the patterns!  And just say ... MAN I LOVE THIS GREETING!!! 


Just a few more ... 


And then one last one ... 


So what do you think?!  I had so much fun making them!  I hope you enjoy seeing them!  Thanks so much for visiting!  I hope you enjoy and please let me know if you have any questions!  Would love to help you with all your papercrafting needs!  And would love to help you get your hands on any Stampin' Up! supplies! 

Contact: designwithink@gmail.com

A Rainbow of Thanks for TGIF Challenge #577 ...

A fun challenge for our TGIF Challenge #557 this week!  It is all about the "thank you" card!  So let's get everyone participa...