
Stamp Set of the Month: Elements of Style
Accessory of the Month: Mini Vintage Tags

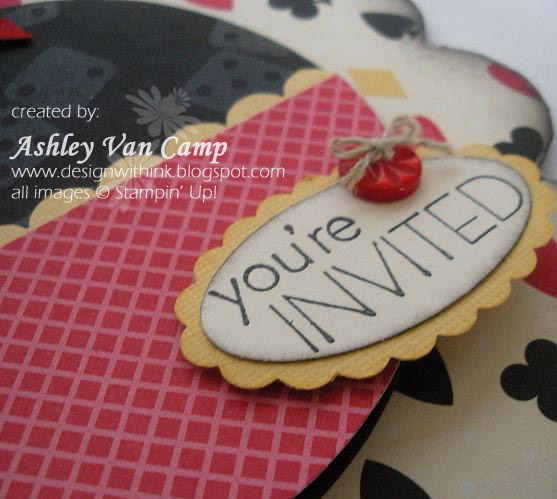
 It's card kit time again! You will LOVE this stamp set and these cards!
In this kit, you'll receive the supplies to create SIX of EACH design shown above - so you will receive all of the consumable supplies that you need to create 12 cards total.
You will also receive 2 additional full color samples of "alternative" cards that you can make with the combined contents of the kit, as well as step by step instructions on how to complete each of the 4 designs.
Card Kit Price is just $15--that's 12 cards, plus envelopes for just $15!
Each month, the card kit also features both a Stamp Set of the Month and an Accessory of the Month. If you purchase the card kit, you may also purchase these items at 20% off!
June Featured Products:
- Elements of Style Stamp Set: Wood - ($27.95) $22.36*; Clear - ($19.95) $15.96* with the purchase of Card Kit
- Mini Vintage Tags ($4.95) $3.96* with the purchase
of the Card Kit
*Regular Shipping and Tax Apply
What else will you need? See the list below for items that were used to create the cards in this kit. If you already have everything--just buy the card kit and you are ready to create!If you don't have everything--place a product order with your kit (don't forget about the discount on the "featured products!")
Or--you can use the card kit to create your own designs using other stamps and inks that you already have--the choice is yours!
Orders for the Card Kits must be received by June 15th. You will receive your kits by the end of the month.
Call or email me today to order:
Ashley Van Camp
801.404.1394
designwithink@gmail.com
Please Note: I am glad to ship kits directly to you! If the kit needs to be shipped, there will be an extra $3 shipping charge.
Products you will need to complete cards as shown:


 (The letters are cut out of textured cardstock and sponged with Pretty in Pink ink.) For the "at me" part of the title...I stamped and cut those letters out (the alphabet is the Contempo Alphabet) and then put a layer of crystal effects on them. I LOVE this look. It gives them a glossy glaze, makes them 3-D and is just gorgeous! (On my other scrapbook pages I did the same thing with the bigger letters so you will be able to tell more with those. :) ) Then the background of the "at me" piece I ran through the Big Shot with the Perfect Polka Dot embossing folder. Then of course...sponged the edges. And gotta love those Corduroy buttons! They add so much texture and I LOVE using those!...
 Here is another shot of that fun ribbon technique. What I did for this was put a strip of Sticky Strip down the page and then just folded the ribbon sticking it to that to make it look like this...


 It's card kit time again! You will LOVE this stamp set and these cards!


